
Mataupu Vitio
00:04
Intro: Configurable Photography Systems
00:46
Flexi_Studio: Toe fa'afouina PhotoRobot
01:22
Mataupu 1300 PhotoRobot Turntable
01:43
PhotoRobot Liliu Tulaga
02:07
Mea pu'eata ma Tripod Fa'atulagaina
02:14
Tasi-laina 360s, tele-laina 360s, ma stills
02:24
PhotoRobot Robotic Arm Fa'alauteleina
02:45
Turntable ma Robotic Arm Setup
03:14
PhotoRobot Cube mo le fa'amalolo o mea
03:30
Pu'eina o lavalava i luga o mannequins
03:40
Cube ma Turntable Faapipiiina
04:00
Flat-Lay Photography Tables
04:08
Outro: Tusi se Custom Demo
Aotelega
Saili pe fa'afefea ona tu'ufa'atasia ma toe fa'atulagaina le tele o robotic modules i lenei vitio fa'ata'ita'iga o le PhotoRobot "Flexi_Studio". O le auala Flexi_Studio e mafai ai ona fa'atulagaina se potu faigaluega ma le tele o robots i le tele o auala. Saili configurations o le Mataupu 1300 turntable pueata, le Liliu Fausaga Tulaga, PhotoRobot's Cube, ma le Robotic Arm. Matou te fa'aalia lo latou fa'aaogaina i totonu o le potu mo le pu'eina o ituaiga eseese o mea faitino ma ese'ese meatotino pu'eata. E aofia ai le fa'atulagaina o le robotic workstation ma le mea pu'eata ma le tripod, ma le toe fa'atulagaina o robots mo le pu'eina o mea eseese. O le vitio o lo'o fa'aalia ai fo'i le aoga o le PhotoRobot Cube mo le fa'amalolo o mea i le ea, ma luga o le mannequin ata. O lo'o i ai fa'amatalaga i luga o mannequins e fetaui ma PhotoRobot, ma le tu'ufa'atasia o laulau pu'eina ata mafolafola mo le vave fa'agaioiga. Va'ai pe fa'afefea ona le gata avanoa fa'afetai i le modularity o a matou polokalama, ofoina maualuga tulaga o fetu'utu'una'i ma fa'apitoa. O lena, i le fa'aopopoga i le anagata o masini, ma le fa'atinoga o polokalama mo le saoasaoa, tumau, ma le fa'atulagaina o ata.
Vitio Transcript
00:02 A fesili mai se tasi ia te a'u po'o le a le mea e ese ai le PhotoRobot, e masani ona ou talanoa e uiga i le saoasaoa o le gaosiga, o le tumau o galuega faatino, po'o le anagata o a matou masini. Ae o aso nei o le a tatou taula'i atu i se isi itu. Ma o le modularity lena.
00:17 Faatasi ai ma la matou fesoasoani, e mafai ona e fa'atulagaina lau oe lava otometi ata ata tu'ufa'atasia le tele o PhotoRobot modules fa'atasi i le tele o auala tulaga ese.
00:26 Aisea e taua ai lenei mea? Ia, o le tele o fofo i luga o le maketi e sau i le tulaga o se pusa sauni-faia lelei, ma mea uma ua fausia sa'o i totonu. Ae ui i lea, e le'i avea lava lenei mea ma se filifiliga mo i matou, aua matou te iloa lelei e leai ni tagata fa'atau se lua e tutusa mana'oga.
00:41 o le mea lea, nai lo le faia o au filifiliga mo oe, matou te mautinoa e tuua avanoa uma tatala. E le gata e eseese tagata fa'atau uma, ae e o'o lava i le potu e tasi, e mafai ona eseese ata ta'itasi. O le mafua'aga lena i lenei vitio o le a tatou talanoa ai e uiga i le mea tatou te manana'o e ta'ua o le "fetuutuunai studio" (po'o le Flexi_Studio, mo se pu'upu'u).
00:59 E mafai ona e toe fa'atulagaina au PhotoRobot modules fa'alagolago i mea e te mana'omia e pu'eina i se aso atofaina. Se'i ou avatu ia te oe ni fa'ata'ita'iga.
01:07 I le totonugalemu o le tele o setups PhotoRobot, o loo i ai se tasi po o le sili turntable-faavae masini. E mafai ona tatou vaevaeina i latou i ni vaega autu se lua: ma turntables manino mo le aveesea o le paolo, ma tagata e le manino mo le fanaina o mea tetele po o le mamafa ma paolo.
01:23 O se faataitaiga lelei o se PhotoRobot ma se turntable tioata o lo tatou Mataupu 1300, lea e mafai ai ona maua ata pea, 360s, po o vitio. O mea pu'eina e mafai ona o'o atu i le 1 mita le lautele, o lona uiga e mafai ona pu'eina ni mea tetele nai lo le tele o ata i luga o le maketi.
01:43 Na fai mai, o le tele o fale su'esu'e e mana'omia se mea mo mea tetele ma, sili atu ona taua, mamafa. O la matou 'upega tafa'ilagi o se filifiliga sili lea mo lena mea. E sau i ni lapo'a eseese se tolu. O lenei tasi ei ai se turntable fiberboard 180 senitimita, ma e mafai ona tauaveina e oo atu i le 1500 kilokalama. I le pito i luga o lena, o lenei tasi ua faatotogaina i lo tatou koluse stabilization, lea e faigofie ai foi ona minoi le turntable faataamilo i le potu.
02:07 E mafai ona fa'aaogaina uma modules na o latou ma se mea pu'eata i luga o se tripod. O le auala lena e mafai ai ona e gaosia ata, vitio, ma tasi-laina 360s. O le laina e tasi o lona uiga pe a va'ai i le oloa i luga ole laiga, e mafai ona e fa'ata'amilomiloina le mea i le agavale ma le taumatau, ae le o luga ma lalo.
02:24 Ae, fa'afefea pe a fai e te mana'o i le tele-laina ta'amilosaga, lea e mafai ona e tosoina ai lau isumu po'o lou tamatamailima i luga ma lalo, va'ai i le oloa mai tulimanu maualuga foi? Pe atonu e te mana'o e pu'eina se fa'asologa o fa'ata'ita'iga, ta'itasi mai se itu ese'ese?
02:36 Ia, ona e mana'o lea e fa'aopopo se isi module, o la matou Robotic Arm lea e mafai ona fa'agaioia le mea pu'eata i ni to'i se lua i luga ma fa'ata'amilomilo.
02:45 Ae faapefea pe afai e te maua uma se Liliu Tulaga, ma se Mataupu? E te mana'omia ni lima robotic se lua? Ia, na'o le taimi lava e te fuafua ai e fa'aaoga le lua i le taimi e tasi. A leai, o le a na o le tasi le lima e te ola ai.
02:55 Lenei o se docking seti i luga o le Case 1300, ma o lenei tasi o lo'o fa'apipi'i i le Turning Platform. Fa'afetai i lenei mea, e mafai ona e fa'agaioia le lima i le va o potu faigaluega e lua. Afai, mo se fa'ata'ita'iga, o lo'o e fuafua e fa'aaoga na'o le tulaga i le aso atofaina, na ona e kiliki le lima i totonu o le docking station i tafatafa o ia, ma alu ese.
03:14 Aua tatou te taofia iina. Afai e te mana'o e fanaina oloa tautau i luga o manoa nylon, oe o le a mana'o e maua se tasi o a matou Cubes fa'apipi'i i luga o se HD faitoto'a. O nisi taimi e te mana'o e tu'u le avanoa i lalo ifo o le avanoa, mo se fa'ata'ita'iga pe a pu'eina uila.
03:29 O se isi taimi, o le a e fanaina lavalava i luga o se mannequin. Ina ia faia lena mea, na ona e ave'ese lau Cube mai le faitoto'a, tu'u i luga o le fola, tu'u se mannequin i luga, ma o iina tatou te o ai. Fa'atoa matou fausiaina se fale faigaluega fa'ata'ita'iga!
03:39 O isi taimi, o le ae manao e faaaoga le cube i luga o le faitotoa i le tandem ma lou Mataupu 1300. E na ona e faase'e le Mataupu i lalo o le faitotoa, ma ia mautinoa o le lua koluse leisa overlapes. Ma, e pei lava o lena, e mafai ona e fa'aaogaina fa'atasi modules e lua, fa'ata'amilomilo i se gaioiga fa'apipi'i. E mafai foi ona e faia le mea lava lea e tasi i la matou 'upega tafa'ilagi.
03:59 Ma le mea mulimuli, e mafai ona e fa'aopopoina se tasi o a matou laulau mafolafola, lea e sili ona aoga pe a e faia le tele o ata ma se mea pu'eata i le 90 tikeri e fa'asino sa'o i lalo.
04:08 I lenei vitio, ua matou fa'aali atu ia te oe pe fa'afefea ona fausia lau oe lava potu fetuutuunai e fa'aaoga ai PhotoRobot modules. E mafai ona e fa'aaogaina fa'atasi pe fa'afeso'ota'i fa'atasi. O lo'o matou fa'aauau pea ona fa'apipi'i le vitio mai le umi tele. O lea la, afai e te fia iloa atili, tusi se vala'au e ala i la matou 'upega tafa'ilagi, pe fa'afeso'ota'i mai matou e ala i le pepa o le upega tafa'ilagi. Fa'afetai mo le matamata!
Matamata i le isi
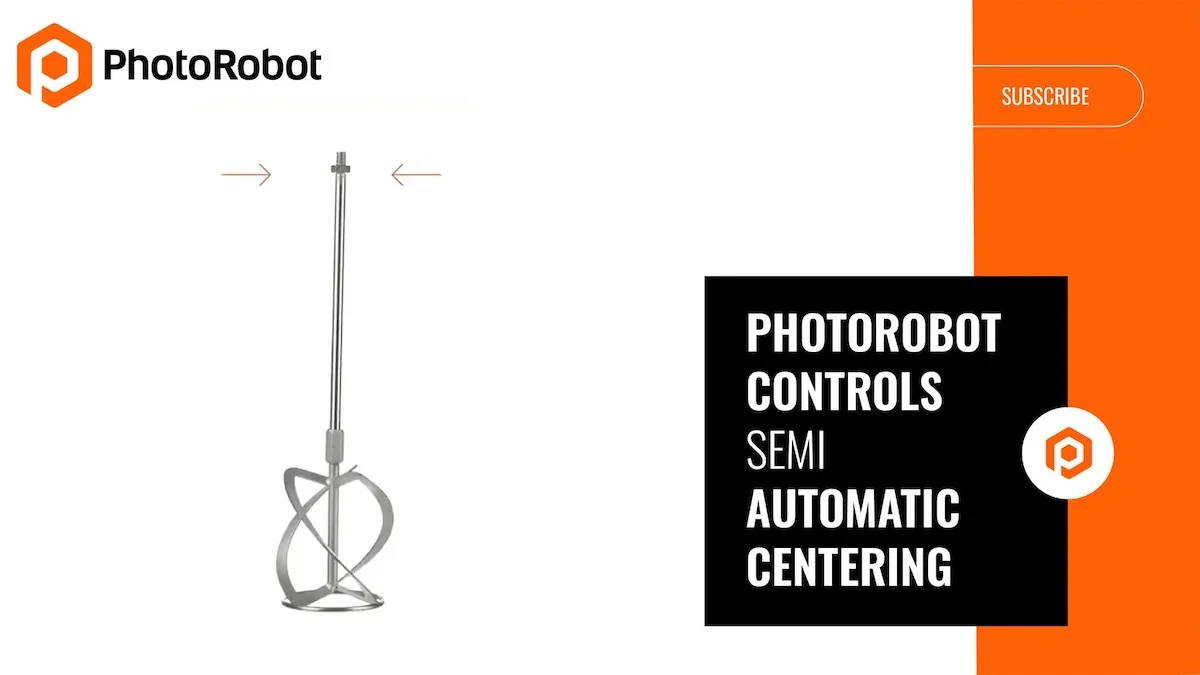
Va'ai pe fa'afefea ona fa'aaoga le PhotoRobot Controls App polokalama e otometi lava ona fa'atotonugalemu ata seti pe a gaosia 360 spins.

Matamata i se fa'ata'ita'iga o le PhotoRobot Fast Shot Mode e maua ai ata e 36 ma le 360 ta'amilosaga 20 sekone pe a mae'a sauniuniga.
Ua Saunia e Faateleina le Atapueina o Oloa o Lau Pisinisi?
Talosagaina se faataitaiga masani e vaai ai pe faapefea e PhotoRobot ona faateleaiina, faafaigofie, ma faaleleia le pueina o ata o lau pisinisi i le aso. Tau lava o le faasoa atu o lau galuega faatino, ma o le a matou fausia lau vaifofo tulaga ese e faataitai ai, faatulaga, ma faamasinoina i le saoasaoa o le gaosiga.
